

Accessibility of Images in PDFs follows essentially the same rules as images on web pages. There are three basic types of images:
- Decoration
- Example of something
- Actual content
All three types of images must have alt-text associated with them. However, the contents of that text varies based on the image type. Therefore, you must begin by thinking about the context of the image.
Images As Decorations:
Examples of images used for decoration include things like the OCPS logo or a school logo. The removing of such an image does not detract from the understanding of the content. Therefore, you can use a couple of words to describe the image like: OCPS logo, MyFavorite Elementary School Logo, or simply say Decorative Image. Here is another example from a school’s summer school page. Clearly the image does not add any information to the rest of the page content.
Images as Examples:
Some images are added to the content on a page or a PDF document to provide an example of the accompanying text. Photos of people are often considered to be example text such as the photo of a principal in the Principal’s Message on a school’s home page.

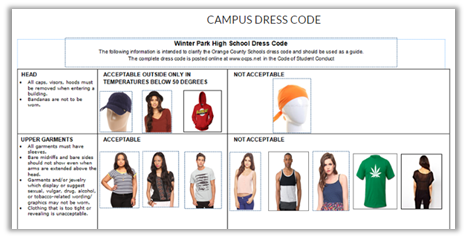
Another example might be a page on Student Dress Code in which images of proper and perhaps even improper dress can be shown next to each area to provide a visual example of what is allowed and what is not allowed.
Images as Supplemental Content:
Some images provide additional information to other content on the page or in some cases the image is the content such as many images recently found in school banner areas. The following image, taken from a school banner has a fair amount of text. However, text on this image cannot be read by a screen reader and depending on the visual ability of the site visitor, they may not be able to read all of the text either. Therefore a more complete description of the text must be entered as Alt-Text
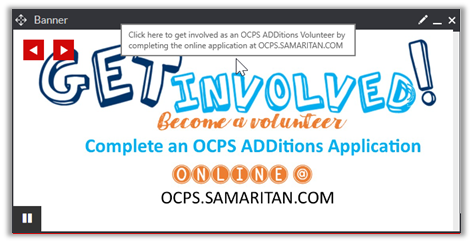
It should be noted that when a hyperlink overlays an image as shown above, the Alt-text should be placed in the hyperlink, not the image. Of course you could place it in both objects. Think of the hyperlink as overlaying the image. However, SchoolMessenger requires that you place some text in the image’s Alt-text field in order to add the image to the page.
Finally, some images should just be avoided as they contain too much text to standalone. The preferred method would be to replace the image with a simpler image that when clicked takes the user to a separate page on the website that displays all the content in detail. In this example, there are several visual accessibility problems beside the total amount of text. These issues include:
- Text too small to read.
- Color contrast issues with the black text on a red background.
- Crazy fonts which low vision site visitors may have problems with even though the letters are large.

Another design alternative when the image is in a regular content area as opposed to the site banner is to place the longer description for the image in the immediate vicinity of the image (above or below) and then treat the image’s alt-text as if the image were an example or simply decoration.
A few additional brief comments about images. They should always be fixed in position. Images should never be allowed to float. While it is acceptable to allow text to wrap around images, especially when you have small images, you generally should avoid wrapping text around an images because it could adversely affect the way the page is reconfigured on different size screens such as mobile devices. It could also affect the order in which screen readers encounter the text. Make sure you test any pages or documents that wrap text around images by simply resizing the screen.
Adding Alt-Text to an Image in a Word Document
While you probably know how to add alt-text to an image on a web page, you may not know how to add alt-text to an image in a Microsoft Word document or perhaps even that you can. With the document open in Microsoft Word, follow these steps.
- With the document open, open the picture’s context menu by right clicking on the image.
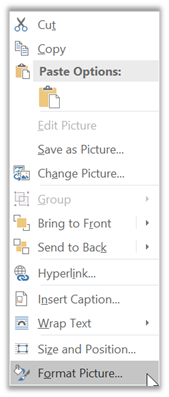
- Select the Format Picture option at the bottom of the context menu.
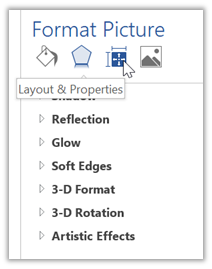
- Select the Layout & Properties icon from the menu at the top of the Format Picture panel that opens on the right side of the screen.
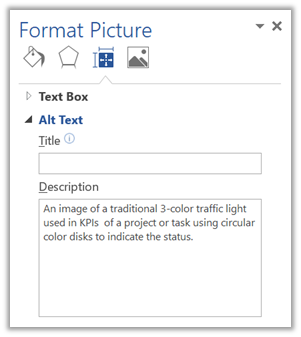
- Then enter the Alt-text into the Description box. You do not have to put anything in the Title box as this information is not read by most screen readers.
That’s it. That how you add Alt-Text to images in Microsoft Word and PowerPoint. When you generate the PDF (which I will discuss in a future post), the PDF retains and displays the alt-text when a user opens the PDF on a computer screen. In the next post, I’ll talk about making tables accessible.
As an additional aid, click here for a link from YouTube that discusses how to create meaningful alternative text.