

There has been a great deal of concern about accessibility recently. Even Microsoft has focused on accessibility in many of their more recent application updates. However, how do you as an individual ensure your PDF documents are accessible without having to remember dozens of rules? Fortunately, a tool on every computer within OCPS has a copy of Adobe Acrobat PRO DC that not only allows you to check the accessibility of your PDFs, but also fix many of the issues discovered. It also has the ability to explain the accessibility issue. Best of all, it is easy to use. Let us look at it.
To begin, on most machines you need only double click the PDF in your file system to open it in Adobe Acrobat PRO DC. In those cases where PDF files on your machine have been associated with a different application, you can usually right click on the filename and select OPEN WITH to select Adobe Acrobat DC. Either way, you should next see a window open with your document displayed. If your document does not appear, check the menu bar at top and click Document. You should also see a panel on the right side with available tools you can use against the current document. If this panel does not appear, check for a small left pointing triangle on the right side of the window and click it to open the panel. Note, when this panel is open, the triangle changes to a right pointing triangle to close the panel. Next check if you have the Accessibility tool in this panel as shown in the figure below. If not, you may need to click on Tools in the top menu bar to display all the possible tools and Add (from the drop down below it) the Accessibility tool to the tool panel.
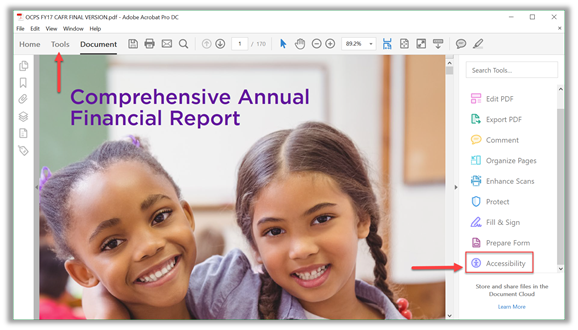
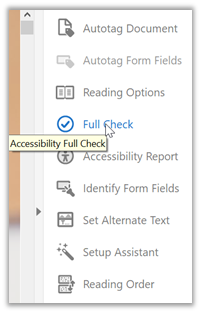
Next, click on Accessibility in the tool panel as pointed to above. This displays the accessibility tool options. Click the option Full Check to perform an evaluation of your PDF.
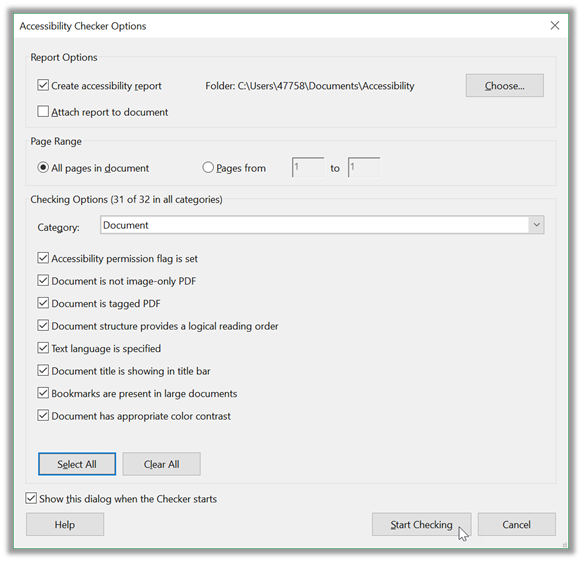
Before the check begins, a dialog allows you to change some of the parameters of the Full Check. The only option I might change would be the folder where the application will write the accessibility report. Note you do not have to create a physical report file if you do not want to. You can review the results of the Accessibility Full Check through the program when the check completes. If you choose to save a physical copy, take note of the folder where it will write the full report. To change the folder from the default folder, click the Choose button and select the folder you want. Note in the image below, I created a separate folder where I save my accessibility reports.
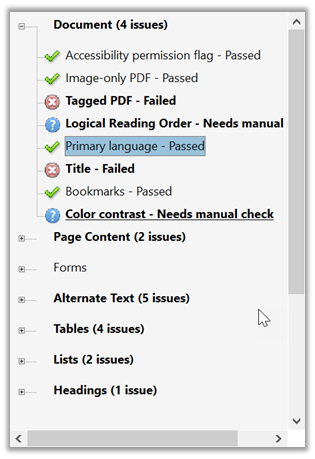
After clicking the Start Checking button at the bottom of Accessibility Checker Options dialog, the program takes a few moments to analyze your document and generate the report. When it completes, a panel opens on the left side of the document called the Accessibility Checker where it displays a summary of its findings in an outline fashion grouped by the issue type. The most important issues for you to review and correct are those under the Document group. In the figure below, you can see that there are 5 issues in this group.
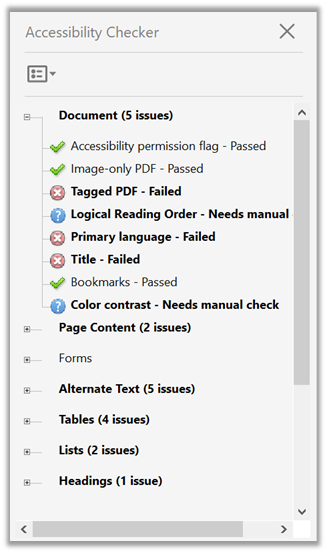
Issues that pass are marked with a green checkmark. Those that fail have a red circle with a white ‘X‘ inside. Blue circles with a question mark ‘?‘ inside are issues that the application cannot check and which need user verification. To see the details of other issues, right click on the issue text. For example, right clicking on the issue: Primary language – Failed, opens the dropdown menu shown in the next figure which six actions.
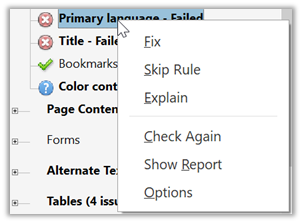
If you are not sure why an issue has been flagged or how to fix it, click the Explain option first. This displays help information such as that shown in the next figure about Primary language. 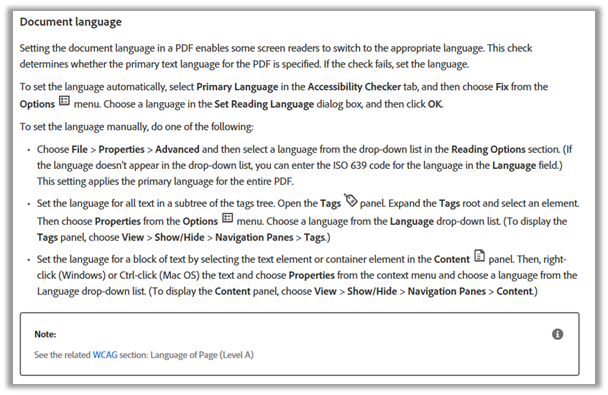
Most times, the explanation also includes suggestions on how to fix the issue. In this case, choosing ‘Fix‘ from the dropdown menu opens a dialog where you can select the default reading language.
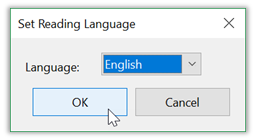
After clicking OK, refer back to the list of issues from the Accessibility Checker. Notice that the line Primary Language now says Passed and the icon to the left is the green checkmark. You can now select another issue to fix.
If you right click on Title and then choose Fix, the following dialog shows four metadata properties that can be set for the document: Title, Subject, Author, and Keywords. Of these, only Title is required for accessibility. Currently all four properties are locked as you can see by the check in the checkbox by Leave As Is under each property.
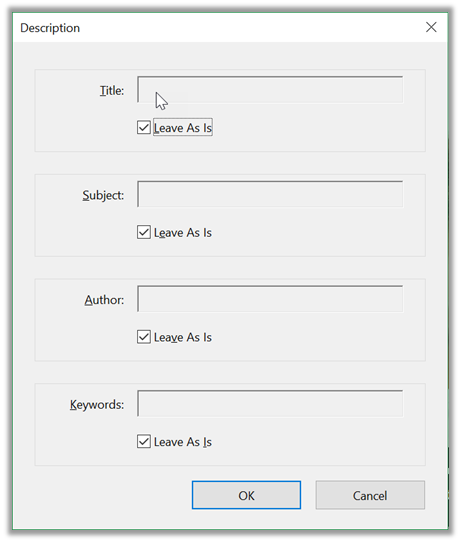
Simply click on the checkbox under Title to remove the lock. This allows you to enter a title for the document. You can optionally change any other displayed property in the same way. 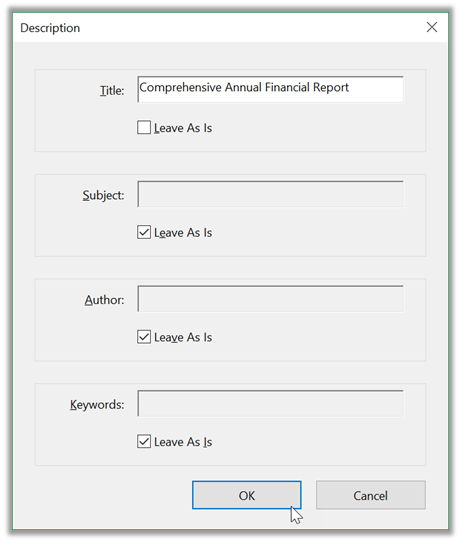
When done, click the Ok button to save these changes back to the PDF’s metadata.
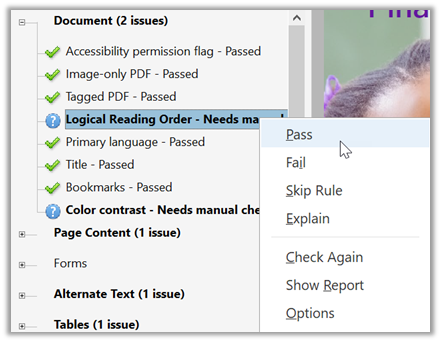
In a similar fashion, go through all the other issues that failed and with the help of the Explain option, fix the remaining errors. Once all the failed errors are resolved, check any informational messages. In this case, there are two. Right clicking on informational messages show a dropdown menu of 7 options. The ‘Fix‘ option has been replaced with a ‘Pass‘ and a ‘Fail‘ result. If you need a further explanation of the issue before passing or failing it, click the ‘Explain‘ option. At any time, you can display the full report by clicking the ‘Show Report‘. If you manually correct an issue, use the ‘Check Again‘ option to check that the issue has truly been fixed.
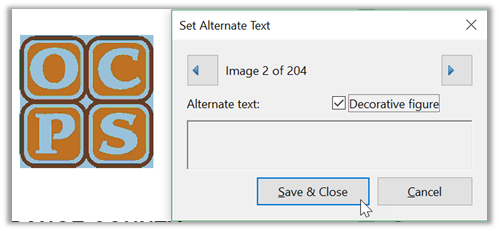
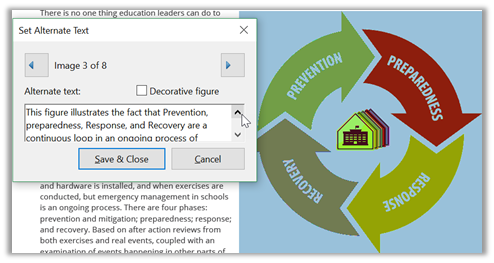
You can now proceed to one of the other issue areas. The only other issue area I want to explore in this post is also one of great important, Alternate Text. To open this area, click the box to the left of Alternate Text to expand the issues in this area. The most common issue in this area is the first one, Figures alternate text although it may have several instances. Clicking the ‘Fix‘ option here displays the dialog show below that allows you to move through each issue one at a time using the left and right pointing arrow at the top of the dialog text. As you select each issue, in the background Adobe displays the page and image to help you decide on appropriate alternate text. All images which materially affect the understanding of the content must have descriptive text. However, some images on a page are there only as decoration and do not materially influence the understanding of the content. In the figure below, the image of the OCPS logo does not materially affect the understanding of the content. Therefore, you can simply mark it as a Decorative figure using the checkbox provided.
An example from a different document which requires more descriptive alternate text is shown in the following figure.
I will cover additional variations of alternate text and other issues reported on by Adobe Acrobat DC in future posts.
Before closing, however, please understand that there are many accessibility issues that even Adobe Acrobat DC cannot automatically identify. The most important of these is color contrast, one of the informational issues under the initial Document section.
Color contrast is the ratio between a font color and the background color. The color contrast ratio ranges from 1.0:1 for white on white to 21.0: 1 for white on black (or vice versa, it does not matter which color is the font and which color is the background). Clearly, the higher the contrast ratio, the more easily a visual user can read the text. The tool that I recommend is from the Paciello Group found at: https://developer.paciellogroup.com/resources/contrastanalyser/.
This tool can be downloaded and used FREE. Text that is 18 point or larger or bold text that is 14 point or larger must have a ratio of 3.1:1 or better. All other text must have a color contrast ratio of 4.5:1 or better.
I will return to discuss more alternate text issues in a future post.