

One of your tasks for the upcoming school year is to initialize your school calendar with some basic events such as the start of school, the start and stop of marking periods, recognized holidays, etc. Of course you could enter all of these events manually. However, this year, we are going to offer you a faster more efficient method to do this. We have created a CSV file of the major calendar events for next year which you can download from this link: https://wordpress.ocps.net/presenceblog/2018-19-school-calendar/
Next follow these steps
- Save the downloaded CSV file on your local hard drive in a place where you can remember such as your documents folder using the name 2018-19 School Calendar.csv or something similar
- Open you school web site.
- Go to the Calendar page (click on Full Calendar in the Upcoming Events portlet on the main page)
- Make sure you are logged into the school site and have edit rights.
- You can be on any month with any view of the calendar. If you have not entered any events for the next school year into your calendar yet, you can skip to step 8.
-
On the other hand, if you already started to create events, you may want to first open the calendar events in Excel and remove any events that you have already entered into your calendar. Just double click on the CSV file you downloaded to open it in EXCEL and then select any rows that represent duplicate rows and delete them from the spreadsheet. You should see something like the following:
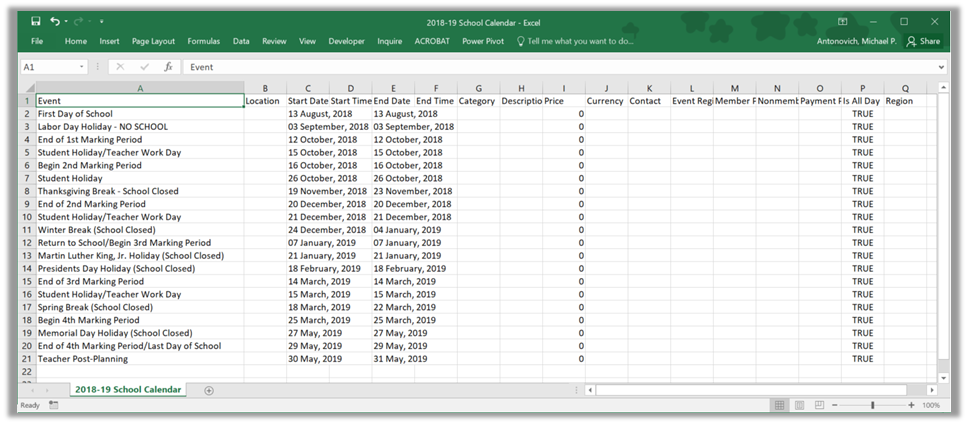
- Do NOT delete the header row. Save the updated EXCEL file back with the same name with the Comma Delimited extension (.CSV).
-
Back on your school’s web site, find the button on the Calendar page that has a red down-pointing arrow (Tooltip: Import Events) and click this button as shown in the following image:

-
You will see a dialog that looks like this:
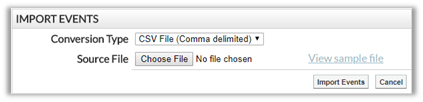
- Make sure that the Conversion Type says: CSV File (Comma delimited)
- Click the Choose File button
-
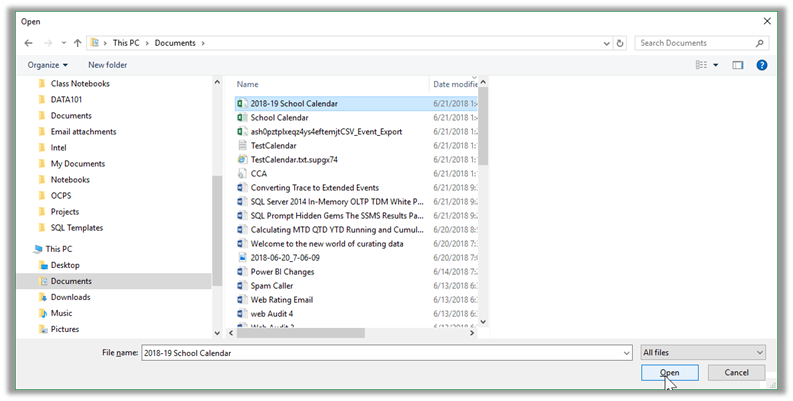
In the Open dialog that appears, navigate to the folder where you saved the downloaded CSV file, select the file and click Open as shown in the next image:
-
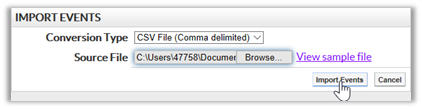
This returns you to the Import Events dialog where you can click the Import Events button:
-
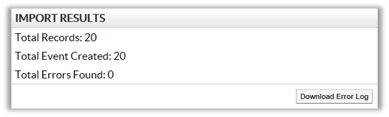
It may take a few seconds to upload the file and create the events. However on the same screen below the Import Events dialog, you will see the Import Results dialog which tells you how many events it found, how many events were created, and how many errors were found (if any).
- If you now look at the calendar, it should show the events added by the CSV file.